출처 : http://blueray21.tistory.com/21
1. Oracle 11g R2
http://www.oracle.com/technetwork/products/express-edition/downloads/index.html
-
linux_11gR2_database_1of2.zip
- linux_11gR2_database_2of2.zip
2. 패키지 확인
http://docs.oracle.com/cd/E11882_01/install.112/e24323/toc.htm#autoId8
compat-libstdc++-33-3.2.3-61.i386.rpm |
- 설치 시 오류를 피하기 위해서 모든 모듈을 최신 버전으로 유지
3. Oracle 계정 및 디렉토리 생성
3.1 Oracle 계정 생성
|
[ray@centos ~]$ sudo groupadd oinstall |
3.2 디렉토리 생성
|
[ray@centos ~]$ sudo mkdir /oracle |
4. 커널 파라미터 설정
4.1 커널 수정
|
[ray@centos ~]$ sudo vi /etc/sysctl.conf |
1 2 3 4 5 6 7 8 9 10 11 | kernel.shmall = 2097152kernel.shmmax = 536870912kernel.shmmni = 4096fs.aio-max-nr = 1048576fs.file-max = 6815744kernel.sem = 250 32000 100 128net.ipv4.ip_local_port_range = 9000 65500net.core.rmem_default = 262144net.core.rmem_max = 4194304net.core.wmem_default = 262144net.core.wmem_max = 1048586 |
- 파일 맨 하단에 추가하되 없는 것만 추가
4.2 커널 수정 내역 적용
|
[ray@centos ~]$ sudo /sbin/sysctl -p |
5. Oracle 사용자 계정 Shell Limit 설정
5.1 /etc/security/limits.conf 파일 수정
|
[ray@centos ~]$ sudo vi /etc/security/limits.conf |
1 2 3 4 5 | #<domain> <type> <item> <value>oracle soft nproc 2047oracle hard nproc 16384oracle soft nofile 1024oracle hard nofile 65536 |
5.2 /etc/pam.d/login 파일 수정
|
[ray@centos ~]$ sudo vi /etc/pam.d/login |
1 | session required pam_limits.so |
- 파일 맨 하단에 추가
5.3 SELinux 비활성화
|
[ray@centos ~]$ sudo vi /etc/selinux/config |
1 | SELINUX=disabled |
- 파일 맨 하단에 추가
|
[ray@centos ~]$ sudo vi /home/oracle/.bash_profile |
# .bash_profile # Get the aliases and functions if [ -f ~/.bashrc ]; then . ~/.bashrc fi # User specific environment and startup programs # Oracle export ORACLE_HOSTNAME=localhost.localdomain export ORACLE_BASE=/oracle export ORACLE_HOME=$ORACLE_BASE/product/db/11.2.0 export ORACLE_TERM=xterm export PATH=$PATH:/sbin:/bin:/usr/bin:$HOME/bin:$ORACLE_HOME/bin export LANG=ko_KR.UTF-8 export NLS_LANG=AMERICAN_AMERICA.AL32UTF8 export LD_LIBRARY_PATH=$LD_LIBRARY_PATH:$ORACLE_HOME/lib export ORACLE_SID=SID_TEST ulimit -u 16384 -n 65536 |
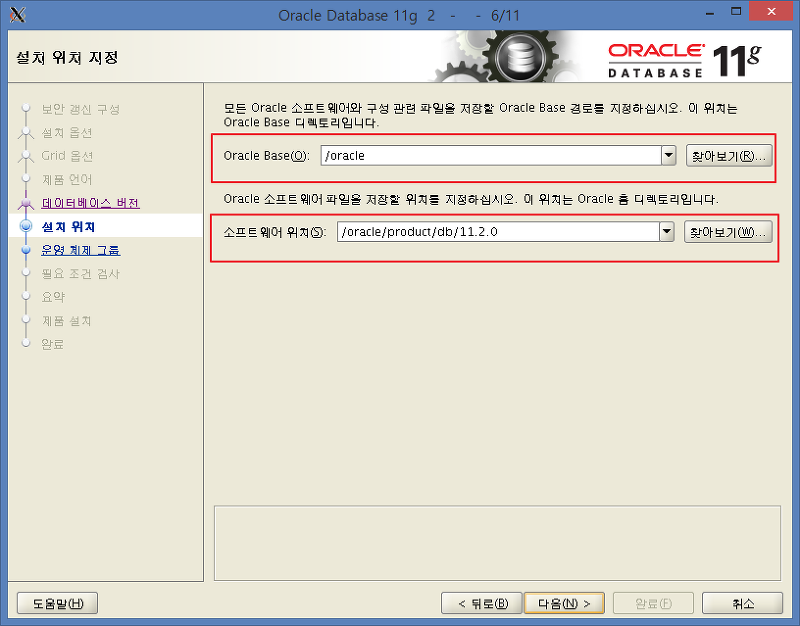
- 경로와 SID 등은 뒤에 Oracle 설치 시 동일하게 적용되어야 함.
7. 설치
7.1 다운로드한 파일을 oracle 계정으로 FTP 접속하여 서버에 업로드
7.2 oracle 계정으로 변경
|
[ray@centos ~]$ su - oracle |
7.3 압축 파일 해제
|
[oracle@centos ~]$ ls -l |
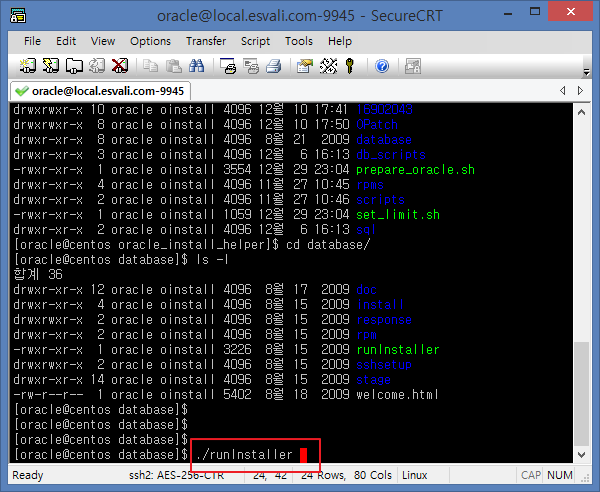
7.4 설치프로그램 실행
|
[oracle@centos ~]$ cd database |
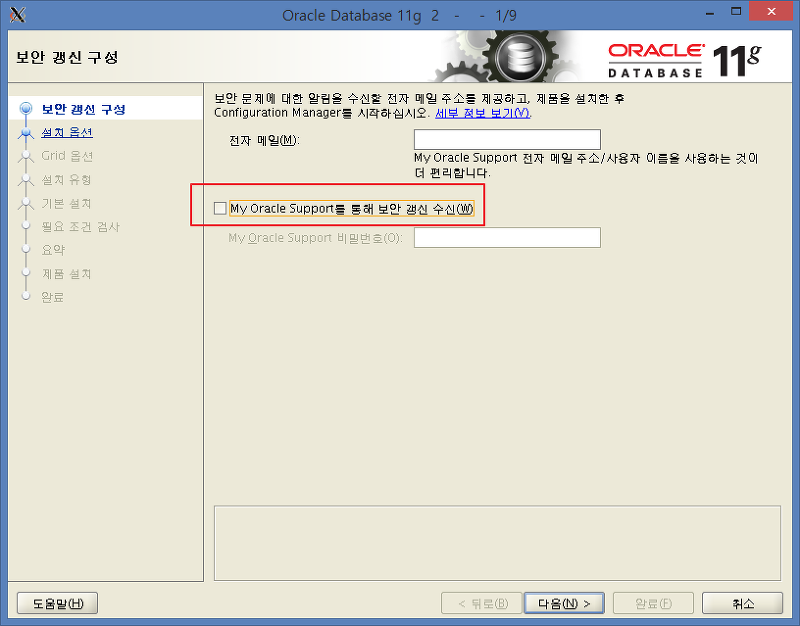
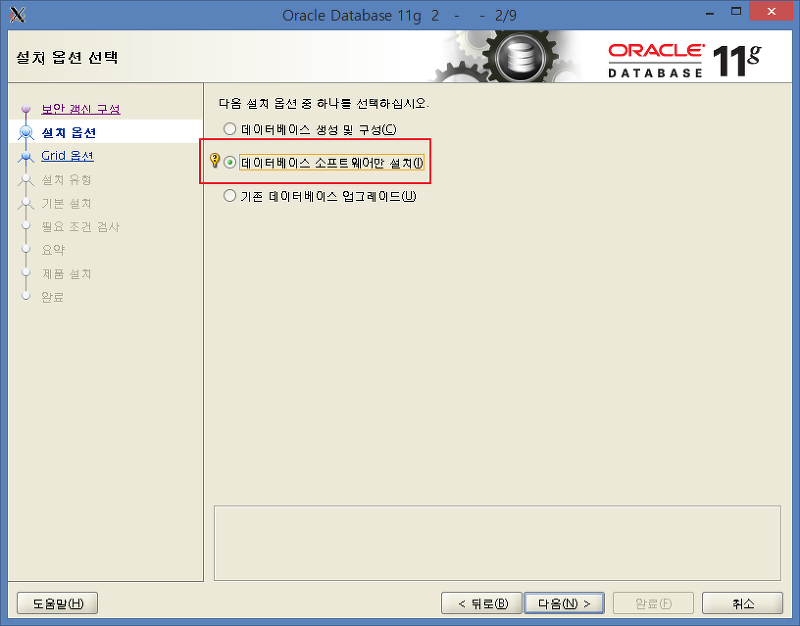
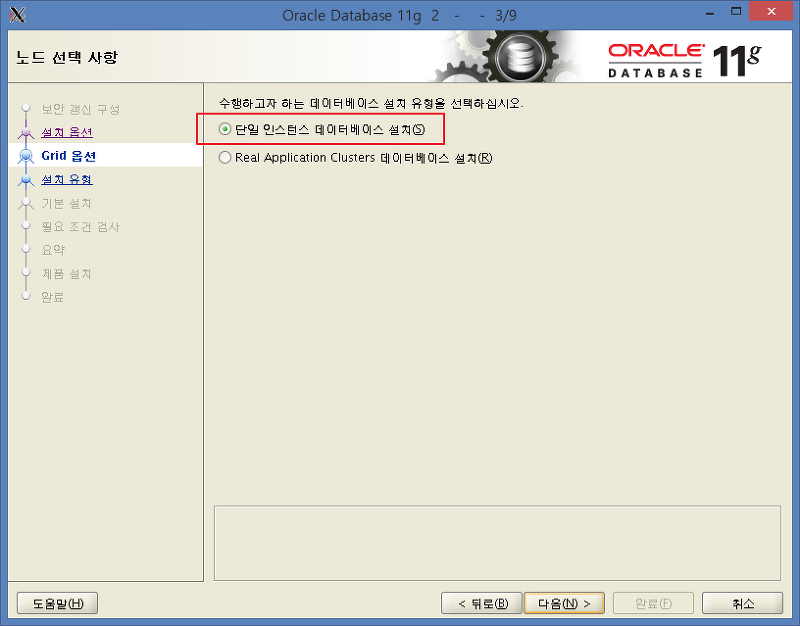
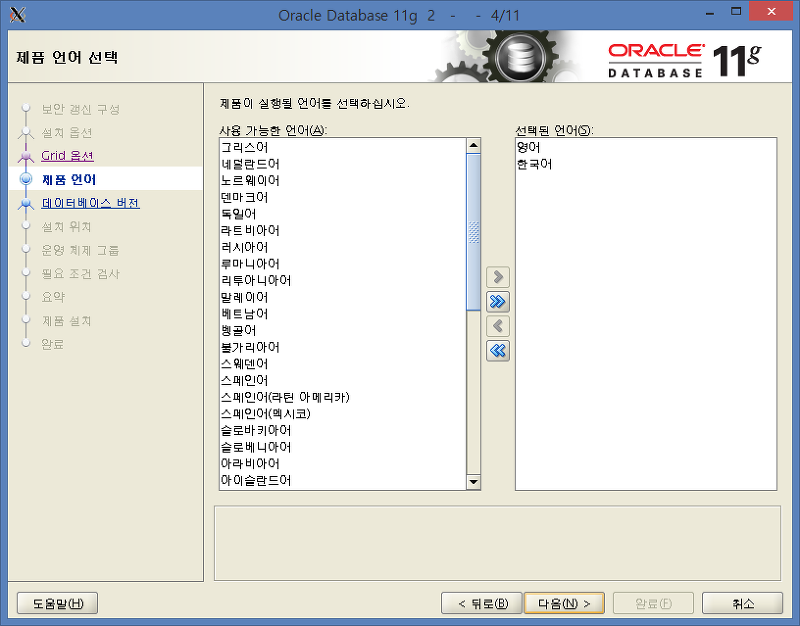
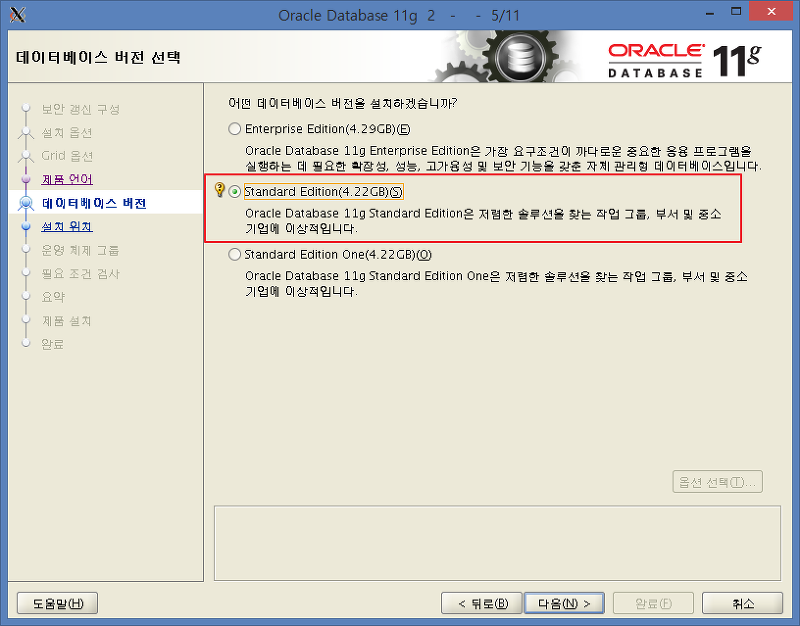
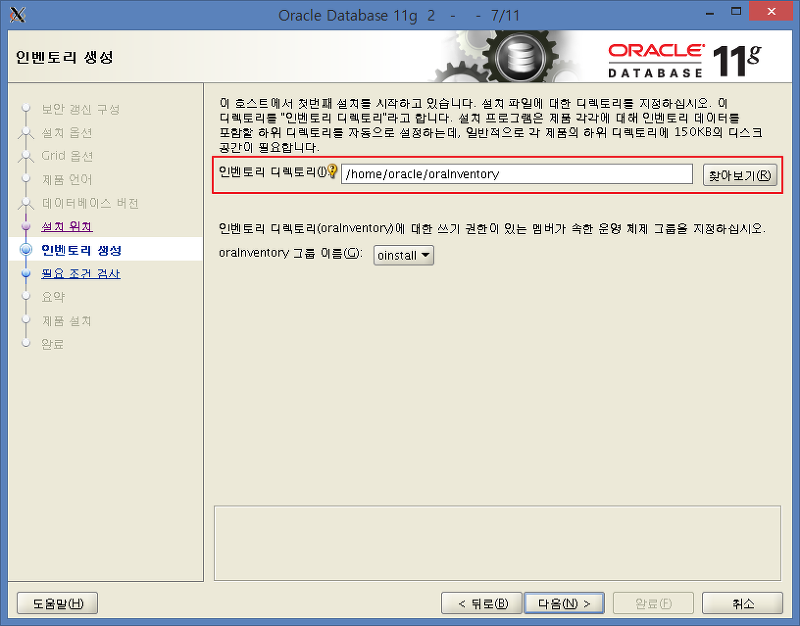
7.5 설치화면
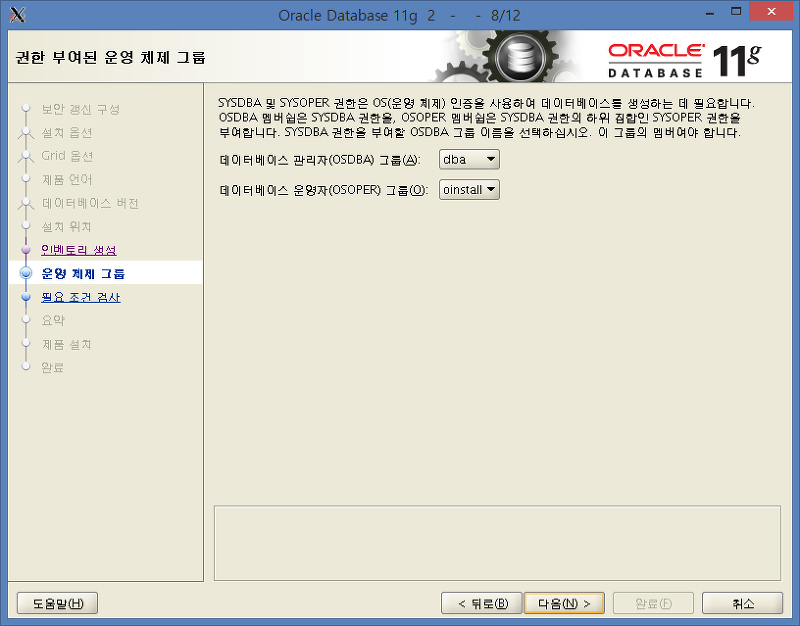

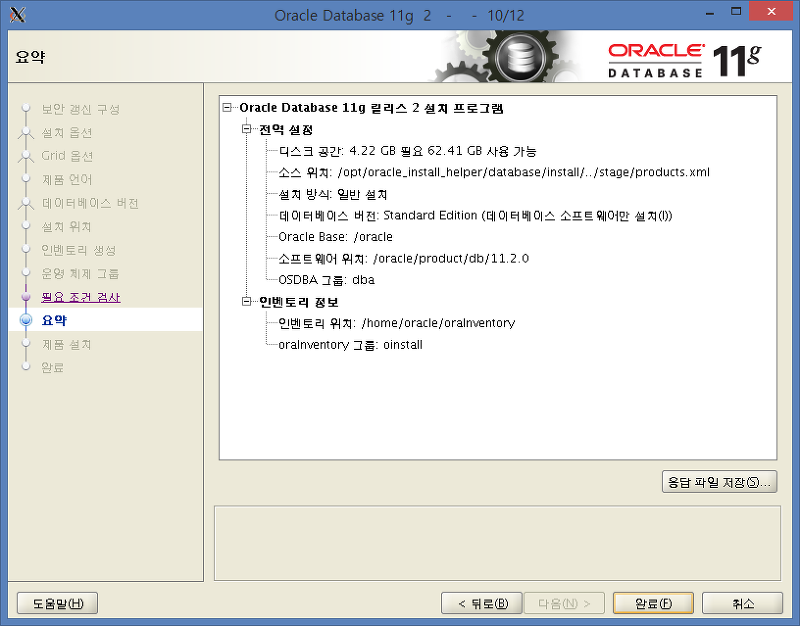
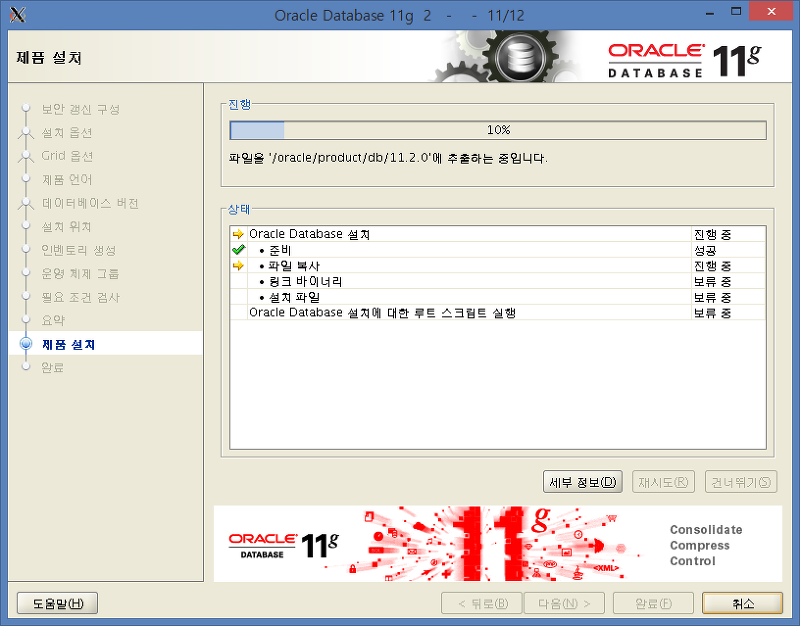
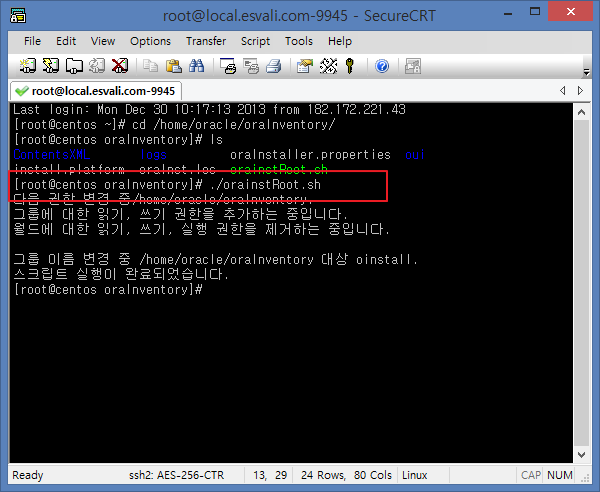
|
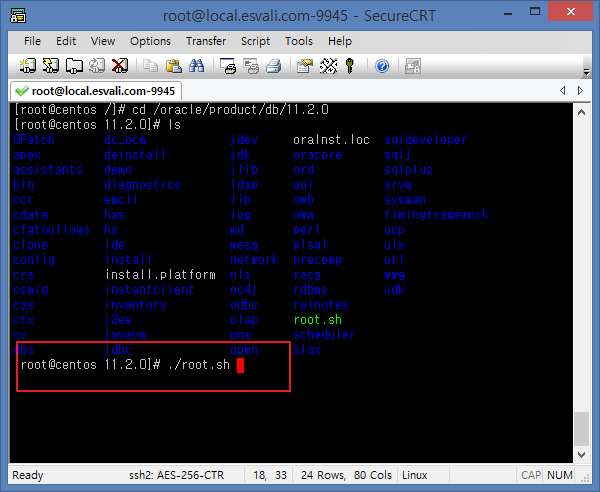
[root@centos ~]$ /oracle/oraInventory/orainstRoot.sh |

7.7 자동실행 설정
|
[root@centos ~]$ vi /etc/oratab |
ora11:/oracle/product/11g:Y |
Create a file called "/etc/rc.d/init.d/dbora" as the root user, containing the following.
#!/bin/sh |
chmod command to set the privileges to 750.
chmod 750 /etc/rc.d/init.d/dboraAssociate the dbora service with the appropriate run levels and set it to auto-start using the following command.
chkconfig --add dboraNext, we must create the "startup.sh" and "shutdown.sh" scripts in the "/home/oracle/scripts". First create the directory.
# mkdir -p /home/oracle/scripts
# chown oracle.oinstall /home/oracle/scripts
The "/home/oracle/scripts/startup.sh" script should contain the following commands.
#!/bin/bash |
The "/home/oracle/scripts/shutdown.sh" script is similar.
#!/bin/bash |
Make sure the permissions and ownership of the files is correct.
# chmod u+x /home/oracle/scripts/startup.sh /home/oracle/scripts/shutdown.sh
# chown oracle.oinstall /home/oracle/scripts/startup.sh /home/oracle/scripts/shutdown.sh
The listener and database will now start and stop automatically with the machine. You can test them using the following command as the "root" user.
7.8 정상적으로 기동되었는지 확인
|
[oracle@centos ~]$ sqlplus / as sysdba |